Ever looked at a fancy bookshelf and thought, “I wish I could make that”? Well, you can. You don’t need power tools. You don’t need a workshop. You just need a few basic tools, some patience, and this simple step-by-step guide to help you build your own bookshelf at home — even if it’s your first DIY project.
Let’s walk you through this easy bookshelf idea for beginners that’s affordable, customizable, and actually doable in a day.
Why Make a Bookshelf Without Fancy Tools?
Here’s why this DIY project is perfect for anyone:
- Budget-friendly – Store-bought shelves can be expensive.
- Beginner-friendly – No power tools required.
- Custom fit – You decide the size and number of shelves.
- Satisfying – Making your own furniture feels great.
Whether you’re in a small apartment, college dorm, or setting up a cozy reading nook, this no-tool bookshelf is the perfect fit.
Tools and Supplies You Need
You won’t need drills or electric saws. Here’s all you’ll need for this DIY bookshelf for beginners:
Basic Tools:
- Measuring tape
- Pencil
- Hand saw (or get your wood cut at the store)
- Screwdriver
- Hammer
- Sandpaper (medium and fine)
- Wood glue
- Paintbrush or rag (for finishing)
- Optional: Clamps
Materials:
- Wooden boards (pine or plywood)
- Screws or nails
- Primer, paint, or stain (optional)
- Wood filler (for any small gaps)
- Back panel (thin plywood, optional)
Want to keep things even simpler? Home improvement stores in the U.S. like Lowe’s and Home Depot can cut the wood for you at little to no cost.
Also Read 10 DIY Wall Art Ideas You Can Finish in Just One Day
Decide the Bookshelf Dimensions
This is your chance to customize. Measure your wall space and decide how tall, wide, and deep you want your homemade bookshelf.
A good beginner-friendly size:
- Height: 60 inches (5 feet)
- Width: 30 inches
- Depth: 10–12 inches
Once you’ve planned your dimensions, mark them on the wooden boards for cutting.
Cutting the Wood
Here’s what you’ll need:
- 2 side boards: 60” x 12”
- 4 shelf boards: 28.5” x 12”
- 1 top and 1 bottom board: 30” x 12”
- Optional: 1 back panel of thin plywood
Use a hand saw to cut these pieces, or ask your hardware store to cut them for you if you’re not comfortable using a saw.
Sand the Edges
Use medium-grit sandpaper first to smooth out rough cuts. Follow up with fine-grit for a clean, smooth finish.
This step helps prevent splinters and makes painting or staining easier later.
Assemble the Bookshelf Frame
Step 1: Connect the Top and Bottom
- Place the two long side boards upright.
- Position the top and bottom boards in between.
- Apply wood glue at the edges.
- Secure with screws or nails.
- Use a level to make sure it’s straight.
Step 2: Install the Shelves
- Mark where each shelf should go (around 12 inches apart).
- Attach each shelf board using glue and screws/nails.
- Make sure the shelves are level.
This layout supports average-sized books, decor items, or storage baskets.
Add a Back Panel (Optional)
If you want extra stability, place a thin piece of plywood at the back.
- Lay the frame flat.
- Line up the panel.
- Nail or screw it to the back.
This makes your DIY bookshelf sturdier, especially if it’s going against a wall.
Finish with Paint or Stain
Before you paint or stain, use wood filler to cover any holes or gaps. Let it dry and sand lightly again.
Painting:
- Apply a coat of primer.
- Then paint 1–2 layers in your desired color.
Staining:
- Rub on wood stain with a cloth.
- Wipe off the extra and let it dry.
- Optional: Seal with a clear finish like polyurethane.
Let your handmade wooden bookshelf dry overnight before stacking books.
Simple Bookshelf Design Ideas (No Tools Needed)
- Modern white bookshelf – Use MDF and white paint for a clean look.
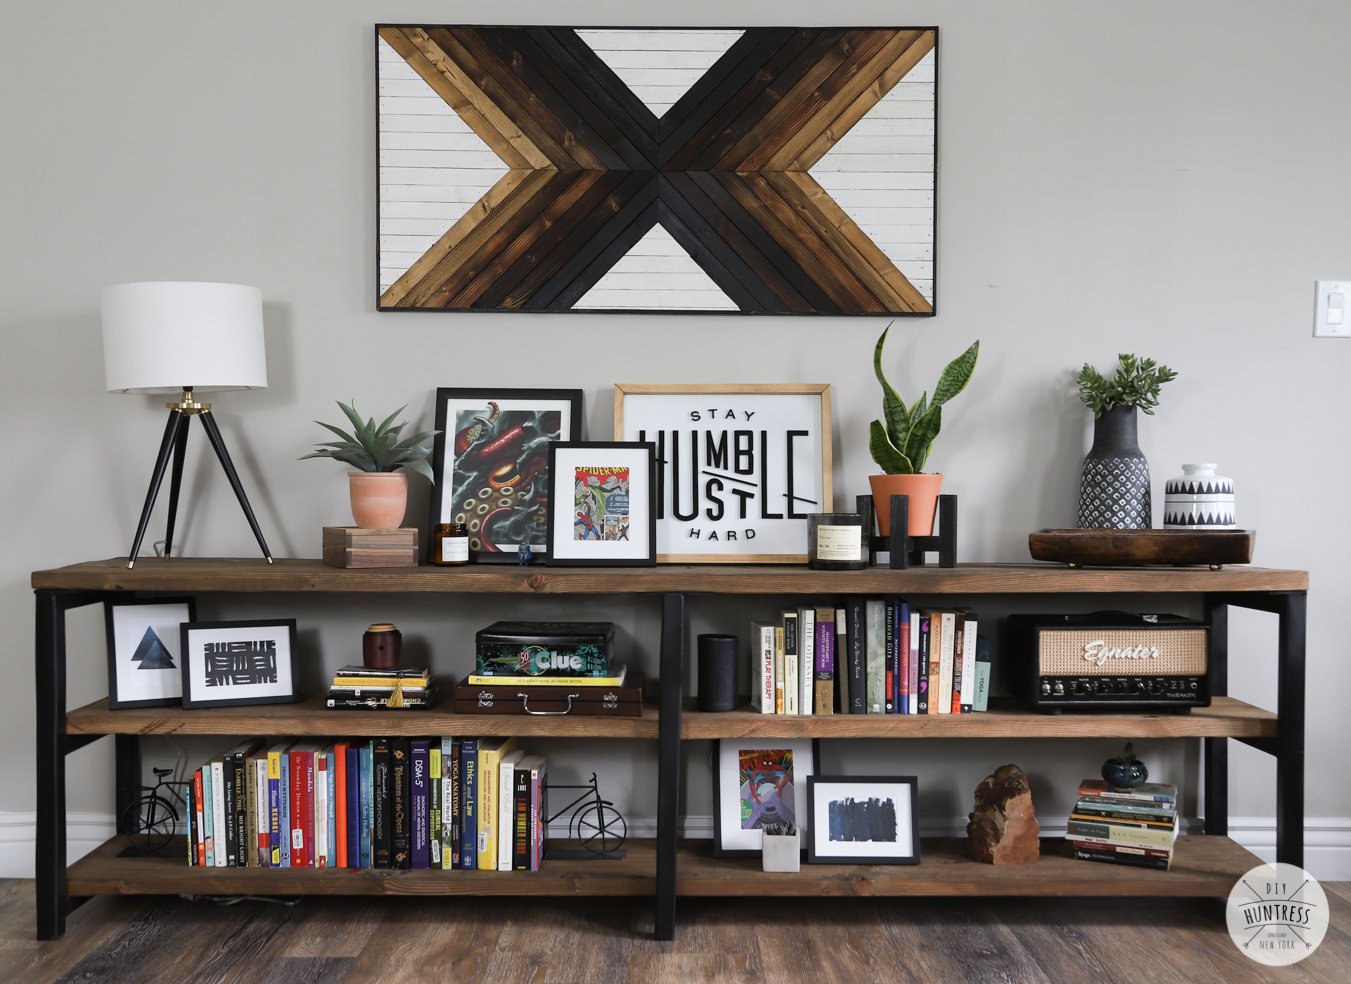
- Rustic look – Stain pine boards with a dark tone.
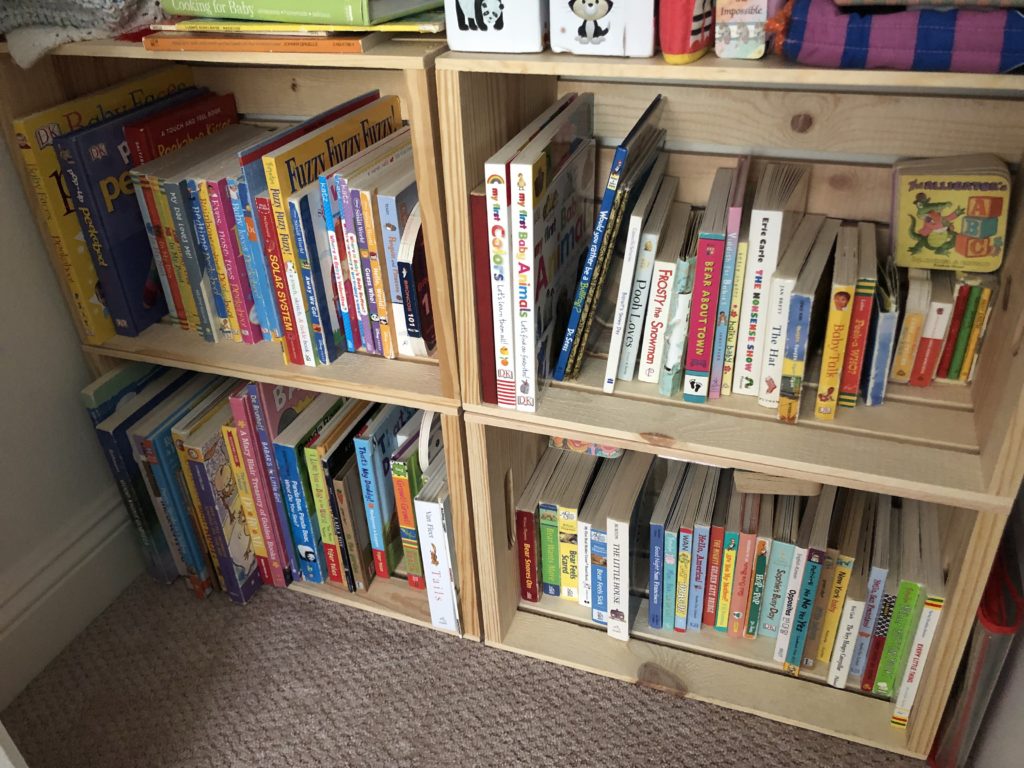
- Kids’ room shelf – Add color with bright, non-toxic paint.
- Floating-style mini shelf – Make smaller versions for side walls.
These simple bookshelf ideas add personality to any room while staying easy on the budget.
Pro Tips for Beginners
- Double-check measurements before cutting.
- Lay parts flat on the floor when assembling.
- Use clamps to hold shelves in place while gluing (if you have them).
- Sand between paint coats for a smoother finish.
- Let everything dry fully before using.
Pros and Cons
| Pros | Cons |
|---|---|
| Inexpensive to build | May not hold very heavy items |
| Perfect for beginners | Limited to basic designs |
| No fancy tools needed | Time-consuming without power tools |
| Fully customizable | May require help with cutting |
FAQs About DIY Bookshelves
Can I build a bookshelf with zero power tools?
Yes. You only need basic tools like a hand saw, screwdriver, and hammer. No drill or electric saw required.
What’s the best wood for beginner bookshelf projects?
Pine or plywood. Both are affordable and easy to work with.
How much does it cost to build a bookshelf at home?
Usually between $30–$70 depending on the size, wood type, and finish.
How long does it take to build?
About 4–6 hours including drying time. Most people can finish in one day.
Is it safe to put heavy books on this bookshelf?
Yes, but for heavier items, consider adding a middle support board under each shelf.
Final Thoughts
You don’t need to be a pro or spend a fortune to build a solid, attractive bookshelf. This easy DIY bookshelf project is ideal for beginners, renters, or anyone short on tools.
With a little effort and a free afternoon, you can have a new piece of furniture that adds charm, storage, and pride to your home. Give it a go — your books (and your budget) will thank you.