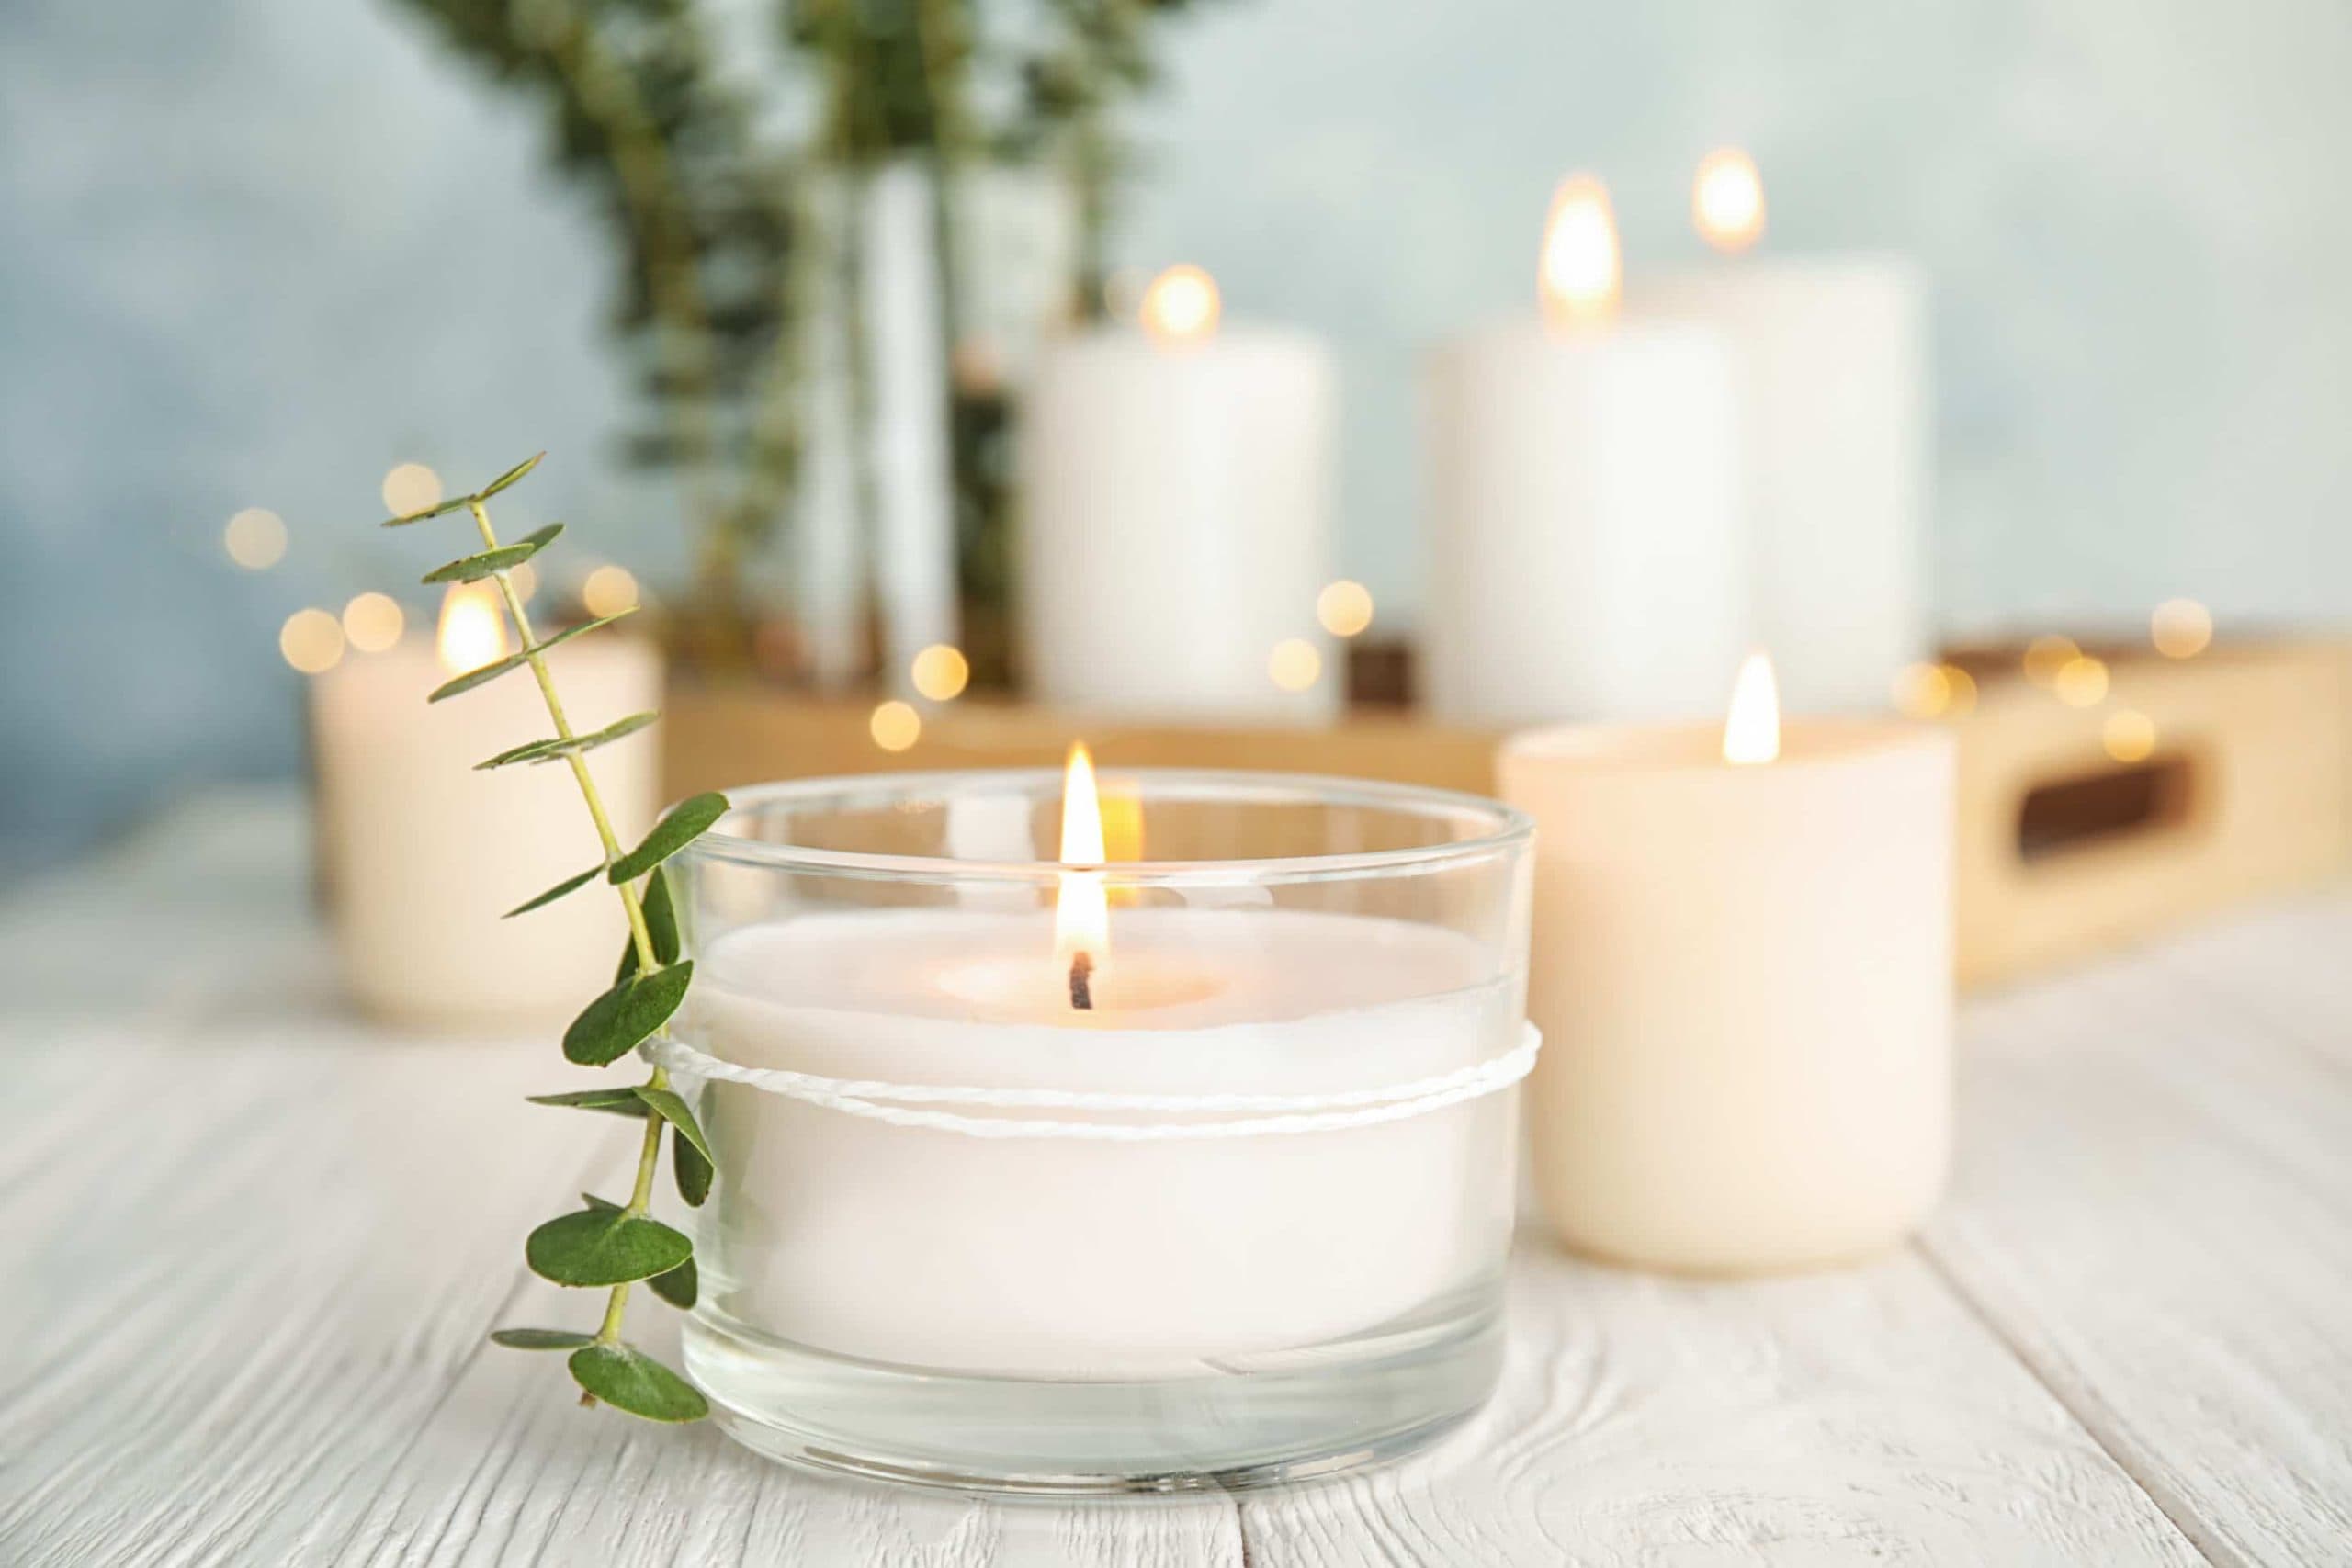
Want your home to smell amazing without spending too much? Or maybe you’re hunting for the perfect handmade gift? Either way, learning how to make candles at home is a win. And the best part — you don’t need fancy tools or hard-to-pronounce ingredients.
This step-by-step candle-making guide is super easy, beginner-friendly, and uses things you probably already have. Whether you want scented candles, soy wax candles, or DIY jar candles, you’ll find it all here.
Why Make Homemade Candles?
Making your own candles is not just a hobby. It’s practical, fun, and gives you full control over what goes into them.
Benefits of DIY Candle Making:
- Save Money: Homemade candles cost way less than store-bought ones.
- Custom Scents: Choose natural scents you love.
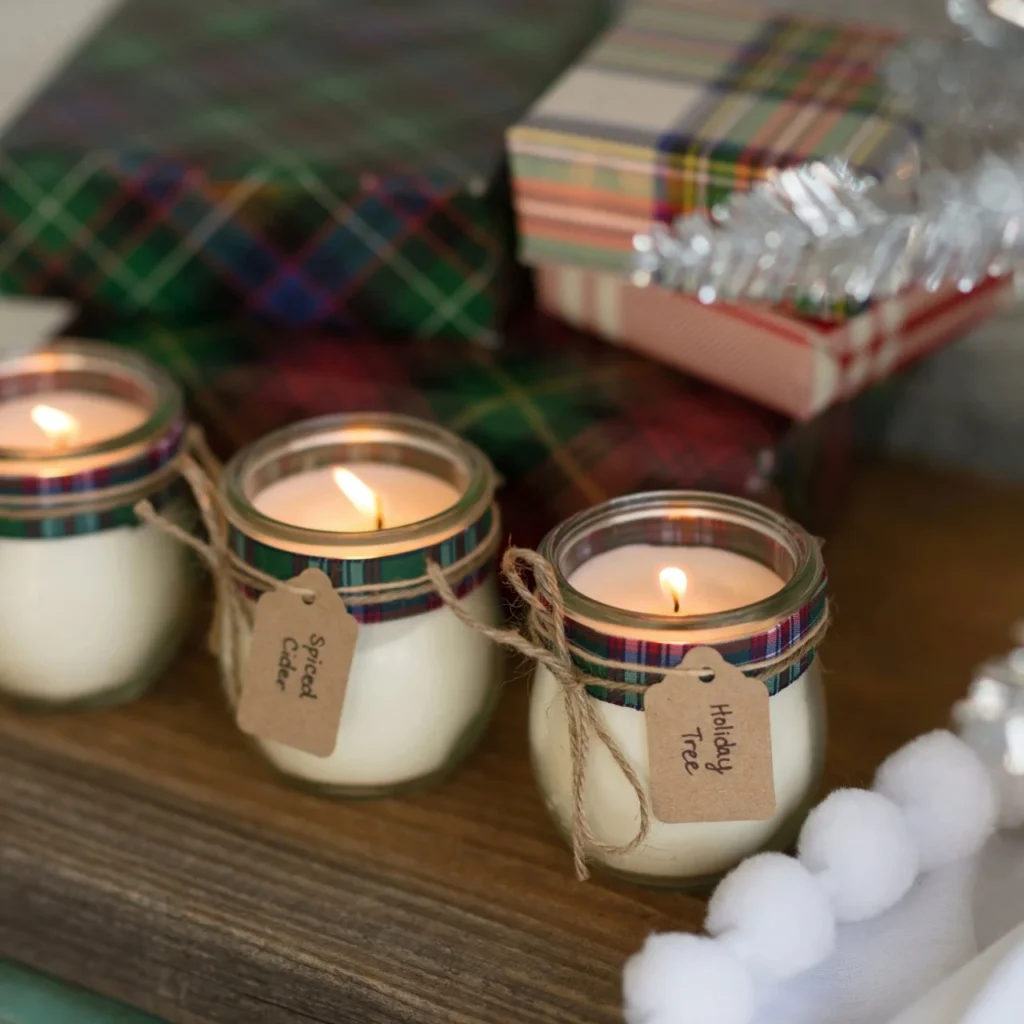
- Gift-Ready: Everyone loves a homemade candle gift.
- Chemical-Free: Use natural wax and oils. No toxic stuff.
- Eco-Friendly: Reuse containers, skip plastic packaging.
Candle-Making Supplies (No Fancy Equipment Needed)
You don’t need to buy a candle-making kit. Here’s what to grab:
Ingredients:
- Wax – Soy wax is easiest for beginners. You can also use beeswax or paraffin.
- Wicks – Choose cotton or wood wicks. Make sure they fit your jar size.
- Fragrance Oils – Pick natural scents like lavender, vanilla, eucalyptus, or citrus.
- Coloring (Optional) – Use candle-safe dye or leave them plain.
- Containers – Mason jars, coffee mugs, teacups, or any heatproof glass jars.
Tools:
- Old pot or double boiler – For melting wax.
- Measuring cup – For pouring.
- Thermometer – To check wax temperature.
- Glue dots or hot glue gun – To stick the wick.
- Wooden sticks or chopsticks – To keep the wick in place.
Also Read Build a DIY Bookshelf at Home in a Day
How to Make Homemade Candles (Step-by-Step)
Let’s dive into the actual process. This method works for both scented candles and unscented candles.
Step 1: Set Up Your Workspace
Cover your table with newspaper or an old towel. Candle-making can get messy. Gather all your supplies and plug in your glue gun if you’re using one.
Step 2: Measure the Wax
Fill your container twice with wax flakes. This gives you the right amount after the wax melts down.
Step 3: Melt the Wax
Use a double boiler or a makeshift version (a pot inside another with boiling water). Stir slowly as the wax melts. Keep an eye on the heat. Wax should be about 180–185°F (82–85°C) when fully melted.
Step 4: Add Fragrance
Let the wax cool slightly to around 160°F (71°C). Then stir in your fragrance oil. Most people use 1 oz of scent per pound of wax. Stir for 1-2 minutes.
Step 5: Add Color (Optional)
Add a few drops of dye. Stir until the color spreads evenly. Or skip this if you like the natural white candle look.
Step 6: Secure the Wick
Glue the wick to the center bottom of your jar. Use a stick or pencil laid across the top of the jar to hold the wick upright.
Step 7: Pour the Wax
Let the wax cool to around 135°F (57°C) before pouring. Carefully fill your container. Leave about half an inch at the top.
Step 8: Let It Set
Let the candle cool and set for 4–6 hours. Don’t move the container while the wax is hardening — it can cause cracks or uneven surfaces.
Step 9: Trim the Wick
Cut the wick down to about ¼ inch. This helps the candle burn cleanly and safely.
Tips for Better Homemade Candles
- Avoid Air Bubbles: Pour slowly and gently stir.
- Fix Sinkholes: If a hole forms after cooling, reheat and pour a little more wax.
- Curing Time: Let your candles cure for 24–48 hours before lighting them for the best scent.
- Use Natural Oils: Essential oils are safer and healthier than synthetic fragrance oils.
Candle Safety Tips
Making candles at home is easy, but safety matters.
- Never leave hot wax unattended.
- Use heatproof containers.
- Keep kids and pets away from the workspace.
- Store fragrance oils safely.
- Trim the wick before each burn.
Creative Candle Ideas
Here are a few fun ideas once you get the hang of the basics:
- Layered Candles: Pour wax in layers with different colors or scents.
- Coconut Shell Candles: Eco-friendly and stylish.
- Holiday Candles: Use scents like cinnamon or pine and decorate the jars.
Keywords Integrated Throughout:
homemade candles, DIY candles, how to make candles at home, natural soy wax candles, homemade scented candles, candle-making for beginners, eco-friendly candle ideas, affordable candle gifts, natural fragrance candles, DIY jar candles
FAQs About Making Candles at Home
Q1. What is the best wax for homemade candles?
A: Soy wax is great for beginners. It’s easy to work with and burns clean.
Q2. Can I use essential oils instead of fragrance oils?
A: Yes, but use more. Essential oils are less strong than synthetic ones.
Q3. Why did my candle crack after cooling?
A: You may have poured the wax too hot or cooled it too quickly. Let it cool naturally.
Q4. Can I use crayons for color?
A: No. Crayons have pigments that don’t melt well and can clog the wick.
Q5. How long should I let a candle cure before lighting?
A: At least 24 hours. For best scent, 48–72 hours is ideal.
Q6. Are homemade candles safe?
A: Yes, if made correctly. Always trim the wick and never leave a burning candle unattended.
Final Thoughts
Making your own candles is easier than you think. You don’t need weird ingredients or expensive tools. With some wax, a wick, and a few jars, you can create beautiful, clean-burning, scented candles right at home.
Whether you’re making a gift, starting a hobby, or just want your home to smell amazing — this DIY project is worth a try. Once you light your first handmade candle, you won’t want to buy one from the store again.