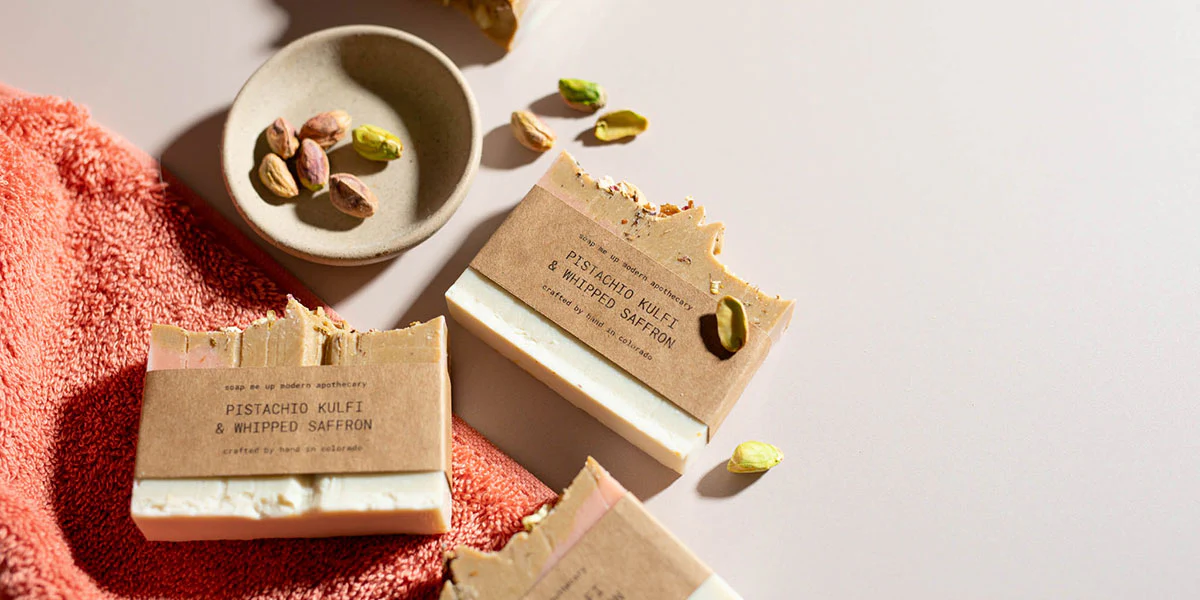
Making your own soap at home may sound like a big task. But it’s easier than you think. You don’t need fancy tools or a science degree. With a few safe ingredients and simple steps, you can create natural, beautiful soap that’s good for your skin—and fun to make.
This guide is made for total beginners. No confusing lingo. No hard-to-find items. Just real, easy instructions for soap you’ll actually use (and maybe gift to friends).
Why Make Soap at Home?

Store-bought soaps often contain synthetic chemicals, strong fragrances, and preservatives. Some can be harsh on sensitive skin.
Homemade soap lets you:
- Control the ingredients
- Avoid harsh chemicals
- Add natural scents and colors
- Make it eco-friendly and plastic-free
- Create thoughtful, handmade gifts
Plus, it’s a fun DIY hobby you can do right in your kitchen.
Types of Soap-Making (We’re Going Easy)
There are a few ways to make soap. Some require working with lye, which can be dangerous if not handled correctly. But we’ll use the melt-and-pour method—the safest and easiest for beginners.
No lye. No chemical reactions. No stress.
Basic Tools and Supplies
You don’t need much to get started. You probably already have some items at home.
What you’ll need:
- Melt-and-pour soap base (glycerin, goat milk, shea butter, or olive oil base)
- Silicone soap mold (or even a muffin tin)
- Glass measuring cup or bowl (microwave-safe)
- Microwave or double boiler
- Wooden spoon or spatula
- Optional: Essential oils (like lavender, peppermint, orange)
- Optional: Natural colorants (like turmeric, beetroot powder, or cocoa powder)
- Optional: Dried herbs or flowers (like rose petals or chamomile)
You can find melt-and-pour soap bases online or in craft stores like Michaels, Hobby Lobby, or Amazon.
Also Read DIY Pallet Coffee Table
Step-by-Step Soap Making Tutorial
Let’s walk through how to make your first batch.
Step 1: Cut the Soap Base
Use a knife to cut your soap base into small cubes. This helps it melt evenly. Place about 1 pound (16 oz) into your glass bowl.
Step 2: Melt It Down
Microwave the soap base in short bursts (30 seconds at a time), stirring in between. Or, melt it in a double boiler on the stove. Stop when it’s fully liquid—don’t overheat!
Step 3: Add Scent and Color
Once the base is melted, mix in your add-ins:
- Essential oils (10–15 drops per pound of soap base)
- Natural color (start small and stir well)
- Optional herbs or dried flowers
Tip: Keep stirring so the mixture stays smooth and even.
Step 4: Pour Into Molds
Carefully pour the mixture into your silicone molds. You can get creative with shapes—hearts, flowers, even Lego blocks.
If bubbles form on top, spray with rubbing alcohol to smooth it out (optional).
Step 5: Let It Set
Leave the soap to cool and harden for about 2–4 hours. Don’t move the molds while they’re setting.
Once firm, gently pop them out of the molds.
Step 6: Store and Use
Let your soap “cure” for 24 hours to make it last longer. Store in a cool, dry place or wrap in paper or plastic wrap.
Use your homemade soap just like any other bar—or wrap them up as gifts!
Soap Variations You Can Try
Once you’ve got the hang of it, try customizing your recipes:
| Soap Type | Add-Ins Example |
|---|---|
| Soothing Lavender | Lavender oil + dried lavender buds |
| Citrus Boost | Lemon/orange oil + lemon zest |
| Oatmeal Honey | Ground oats + raw honey |
| Coffee Scrub | Ground coffee + vanilla essence |
| Green Tea Spa | Green tea leaves + mint oil |
Mix and match oils, herbs, and bases to create your own signature bars.
Safety Tips for Beginners
- Never leave melted soap unattended.
- Don’t add water to the melt-and-pour base—it can ruin the texture.
- Essential oils are strong—use sparingly and avoid eyes or sensitive skin.
- Test new ingredients in small batches first.
Eco-Friendly Tips
Want to keep it green?
- Use biodegradable packaging like kraft paper or twine.
- Avoid synthetic glitter or artificial fragrance oils.
- Reuse containers and molds for future batches.
- Choose plant-based or vegan soap bases.
How to Make It a Fun Routine
You can make soap alone, but it’s also fun as:
- A rainy day activity
- A weekend DIY with kids (with adult supervision)
- A handmade gift idea for holidays or birthdays
- A calming self-care craft
You can even start a small Etsy shop if you enjoy it!
Final Thoughts
Handmade soap doesn’t have to be complicated. The melt-and-pour method gives you all the fun of DIY with none of the stress. You’ll save money, avoid harsh chemicals, and enjoy something that feels creative and calming.
So gather your ingredients, pick your favorite scent, and get started today. In just a few hours, you’ll be holding your own homemade bar of soap—made by you, for you.
FAQs
Q: Where can I buy a melt-and-pour soap base?
You can find it at craft stores like Michaels or order online from Amazon or Bramble Berry.
Q: Can I make soap without lye?
Yes! The melt-and-pour method uses a pre-made base, so you don’t have to work with raw lye.
Q: How long does handmade soap last?
If stored in a dry, cool place, it can last 6–12 months.
Q: Can I use food coloring in soap?
Avoid liquid food coloring. It can stain skin or fade. Use natural powders or soap-safe colors.
Q: Is homemade soap safe for sensitive skin?
Yes—especially if you use gentle, natural ingredients like shea butter, goat milk, and essential oils like chamomile or lavender.


